Hey everyone! Got a brand new custom action figure tutorial for you. People have (rightfully) had complaints about the flaws of the new MOTUC Rio Blast figure. My new video tutorial shows you how to fix him so his chest flap closes all the way, his gun backpack sits correctly on his shoulders (so the visor covers Rio Blast’s eyes) and his leg chaps sit a bit closer to his thighs. Just click here to go to the full page with a written out detailed description. You can also watch the video below. If you know someone having frustration with the Masters of the Universe Classics Rio Blast, send them the link to the video. And if this is your first time here at Mint Condition Customs, check out the Custom Action Figure Archive. It’s full of every single custom action figure I’ve made up to this point. Mint Condition Customs is where toys are turned into “Interactive Art”!
Tag Archives: tutorial
How to Fix Masters of the Universe Classics Rio Blast – Custom Action Figure Tutorial
In this tutorial, you will learn how to fix all the problems with the Masters of the Universe Classics Rio Blast action figure. The tutorial will teach you how to fix the chest flap so that it will sit flush with the chest when closed, the gun backpack so that it sits low enough that the visor will be properly lined up with Rio Blast’s eyes (like the vintage figure), and the leg chaps so they sit just a little bit closer to the thigh. To see how each section is properly done, it’s recommended that you watch the video above to see everything properly executed.
TOOLS NEEDED:
1. X-Acto Knife
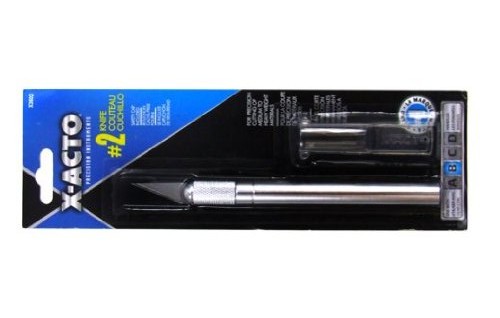
Buy X-Acto Knife on Amazon
2. Pencil
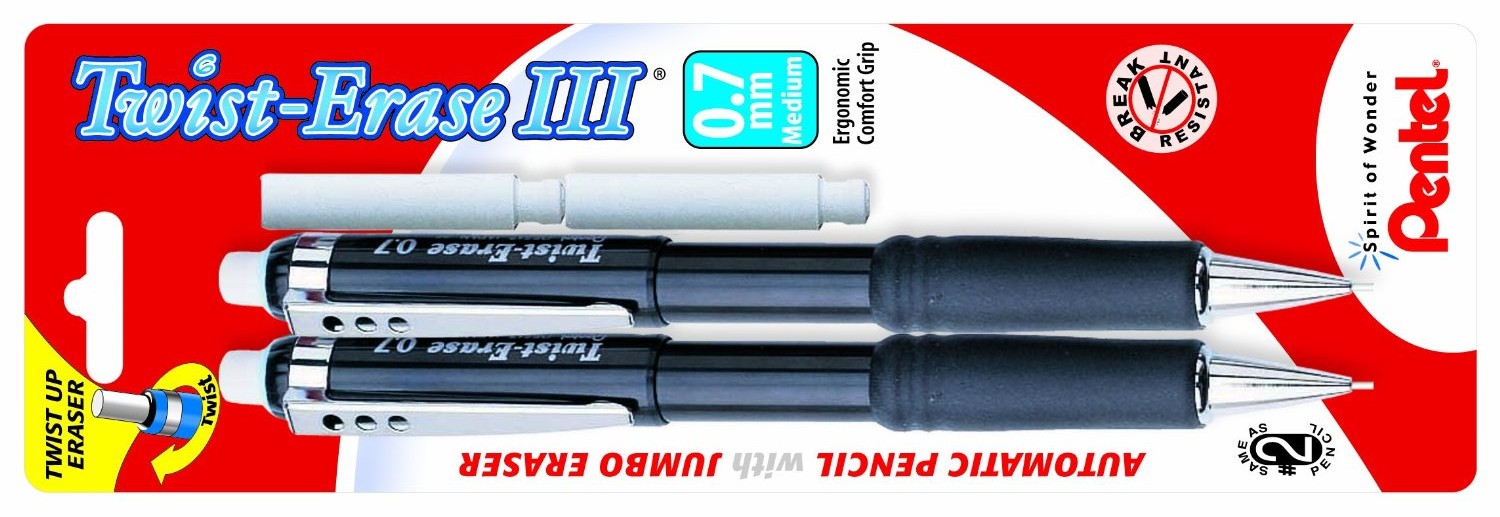
Buy Pencils on Amazon
3. Needle Nose Pliers
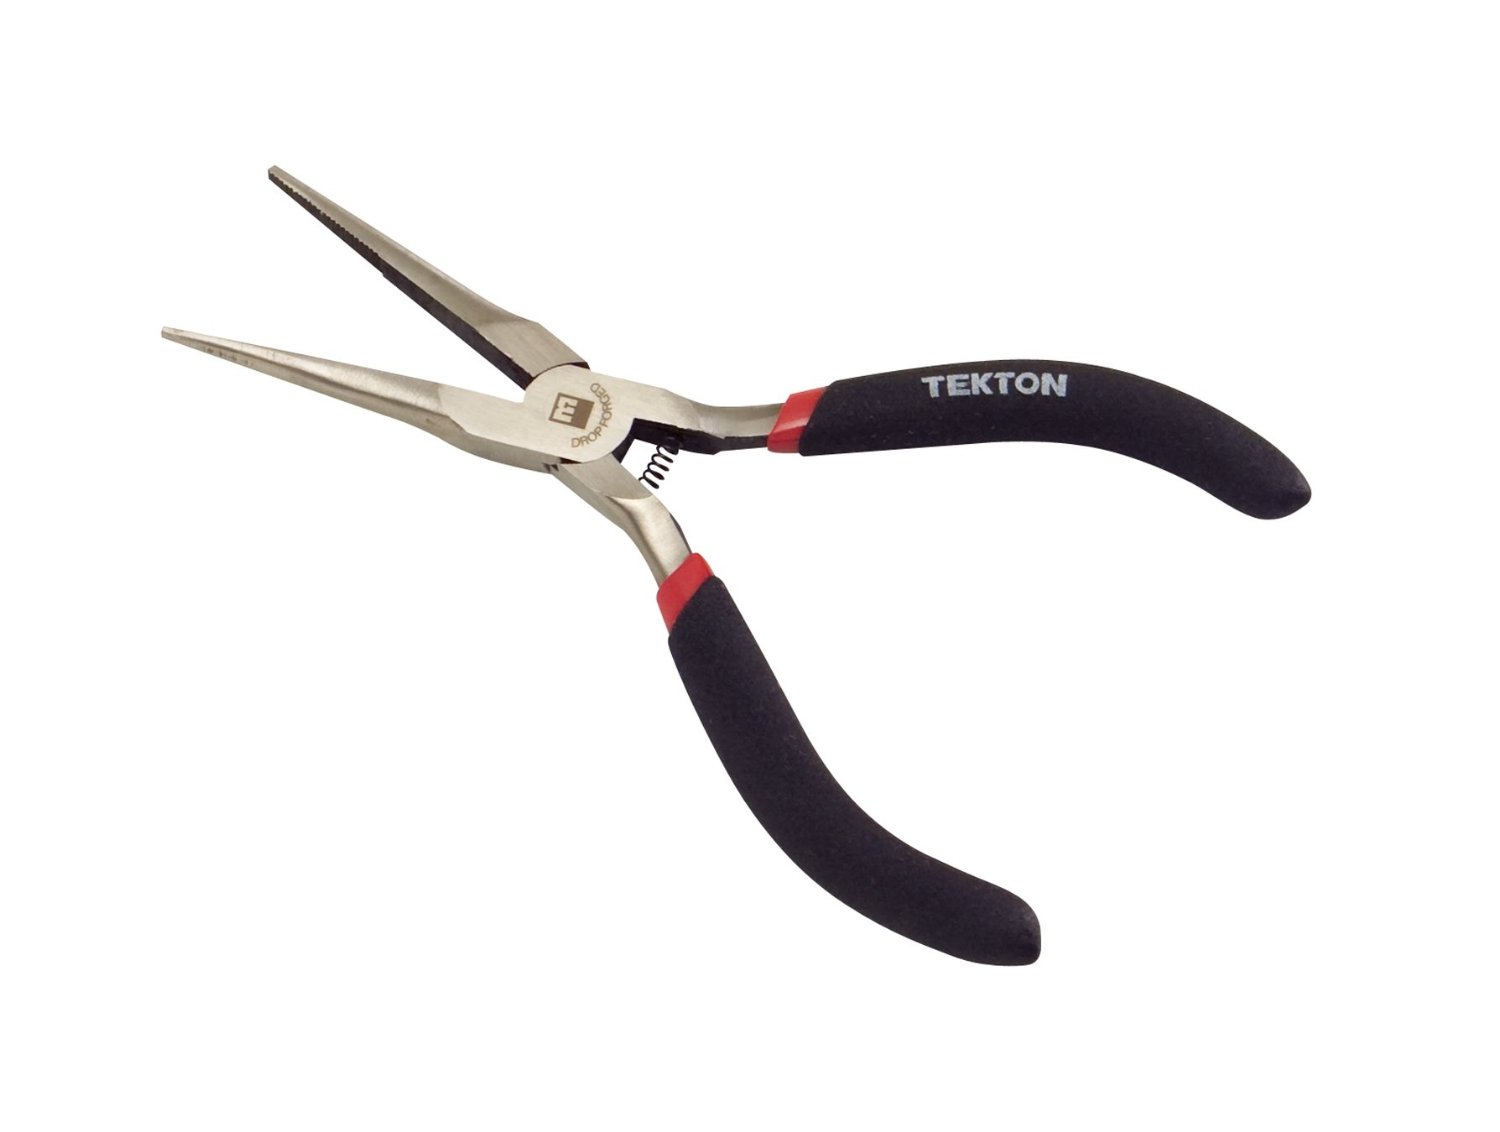
Buy Needle Nose Pliers on Amazon
4. Silver Duct Tape
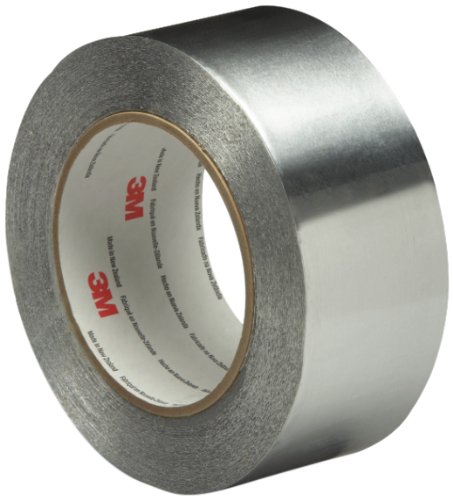
Buy Silver Duct Tape on Amazon
5. Dremel

Buy Dremel on Amazon
CHEST FLAP:
The first thing you need to do is have the chest flap closed so you can mark with your pencil where the peg sits. What you’ll be doing is cutting out a hole from the chest so the peg doesn’t bump into anything and can close all the way. What I did was I followed the circuitry design in the chest so it looked like it was part of the design. Once the hole is cut, test it out. If you need to trim up the hole, do so. Once you do that, congrats! You can now close the chest flap all the way. However, when it’s open you can see the blue of of the Masters of the Universe Classics Rio Blast chest. That is where the duct tape comes in.
You could paint a small portion of Rio Blast’s chest silver and that would take care of the problem. Unfortunately not everyone feels comfortable painting, which is why I’m suggesting using the duct tape. It’s simple, quick, and anybody could do it. You’ll just take cut out a small rectangle of duct tape and apply it to the Masters of the Universe Classics Rio Blast figure’s chest. Start from the bottom, and work your way up. When you have it fully applied, you will have some wrinkles between the muscles. I’m personally OK with that, since it kinda looks like it’s continuing the circuitry design. Once that’s done, put the vest back on. Problem #1, taken care of.
GUN BACKPACK:
The reason the backpack can’t lower all the way is because of these shoulder bumps on the Masters of the Universe Classics Rio Blast figure. I’m not sure what they are, except an obstruction. What you’ll need to do is mark with your pencil where those shoulder bumps hit the guns. You’ll be cutting out a small rectangle from both sides of the guns so they can clear these bumps. The best part is that they won’t be noticeable at all when the guns are resting. Once you have the areas marked, use your X-Acto knife and cut them out. You will have a vertical cut to make, where you can’t fit your blade. You’ll need to run the blade across, applying force, which will score into the plastic. Do this until you can feel the blade poke through. Now take your pliers to help pry these pieces out. If there’s any plastic left, remove it with the X-Acto knife.
And then cut a tiny piece out of both sides the edge of the backpack that sticks out to stop the guns from lowering. After you’re finished, put it on the Masters of the Universe Classics Rio Blast figure and try it out. If you’ve don it right, then Rio Blast’s eyes will be lined up with the visor. Problem #2, taken care of.
LEG CHAPS:
Now this part isn’t wholly necessary. If you’re OK with the chaps sticking out, you can skip this. But if you do want them to sit just a bit closer to his legs, read on. I noticed the pegs inside the chaps are bigger than they need to be, and this is why they stick out so far from the thighs. Pop the chaps off the legs. Next, take your dremel, preferablly with a round sanding bit, and grind into the peg, making it shorter. Remove any flash and test out the gun. It should fit just fine. Then pop it back on the figure and it will sit just a little bit closer to the thigh. Repeat all of this for the other one as well. Problem #3 taken care of. And now your Masters of the Universe Classics Rio Blast action figure is now fixed.
Rio Blast is my favorite Masters of the Universe character, and always has been. The Masters of the Universe Classics Rio Blast figure has been my most anticipated in the line since I ever thought it could be a possibility. I understand the frustration with buying something with flaws. We action figure collectors know it all too well. I do hope that this shows you that you can be proactive about your figures and make changes that make you happier with the figure.
Tutorial – Shoulder Fix for TMNT Classics 1990 Movie Figures
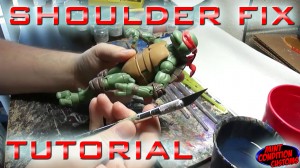 I’ve been hearing a lot of people complain about the ridiculously tight shoulders on the new Teenage Mutant Ninja Turtles Classics 1990 movie figures
. And they are too tight. The TMNT Classics 1990 figures’ shoulder joints are so tight that trying to move them stresses the peg in the bicep, which could lead to tearing. So I made a video guide that will show you how to loosen up the shoulder joints to a proper resistance on your TMNT Classics 1990 Movie figures. To view the full guide, just CLICK HERE or the picture to the left. I hope this guide helps loosen some frustration for collectors.
Guide to Fixing TMNT Classics 1990 Movie Figure Shoulder Joints
I’ve been hearing a lot of people complain about the ridiculously tight shoulders on the new Teenage Mutant Ninja Turtles Classics 1990 movie figures. And they are too tight. So tight that trying to move them stresses the peg in the bicep, which could lead to tearing. The video guide below will show you how to loosen up the shoulder joints to a proper resistance on your TMNT Classics 1990 Movie figures. The same method can be used on many other action figures with similar shoulder joints as well. The only tool you need for this is an X-Acto knife, or similar hobby knife. Alright, let’s get started!
New Guide – How to Fix DC Collectibles Arkham City Killer Croc’s Shoulder
 If you’re one of the many people out there who had their DC Collectibles Arkham City Killer Croc’s arm break off at the shoulder, then great news! I have a new tutorial up on my site that teaches you how to fix it. It’s the best method I found that has worked perfectly for my own Croc. Just click here to read the full tutorial. I hope it helps.
W.I.P. It! – Custom Cesar Romero Joker
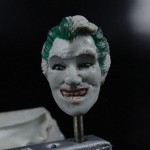 Hello there, and welcome to the newest feature on Mint Condition Customs: W.I.P. It! For those who don’t know, the term “W.I.P.” is used in customizing circles. It’s an acronym standing for “work in progress”. I’m going to use this new feature to highlight my past work and give you a closer look at the process I use for creating my custom action figures. I’ll post photos and have a write-up discussing the process as well. I’ll make this a Friday feature. I may not have one to post every Friday, but if I do it will only be on Fridays, for future reference.
For my first W.I.P. It!, I’ll be highlighting my custom Cesar Romero Joker action figure. I feel this is a good one to start off with, since he required a massive amount of work to be done on his head to get him to look like Cesar Romero.
Join me after the jump to get an in-depth look at my creation of the Cesar Romero Joker figure.


